
From Doodle to Sticker: The Journey of One Pumi Pose
Rough sketch, clean lines, color, then a transparent cutout. Peek at five steps before a sticker reaches Pumimart.
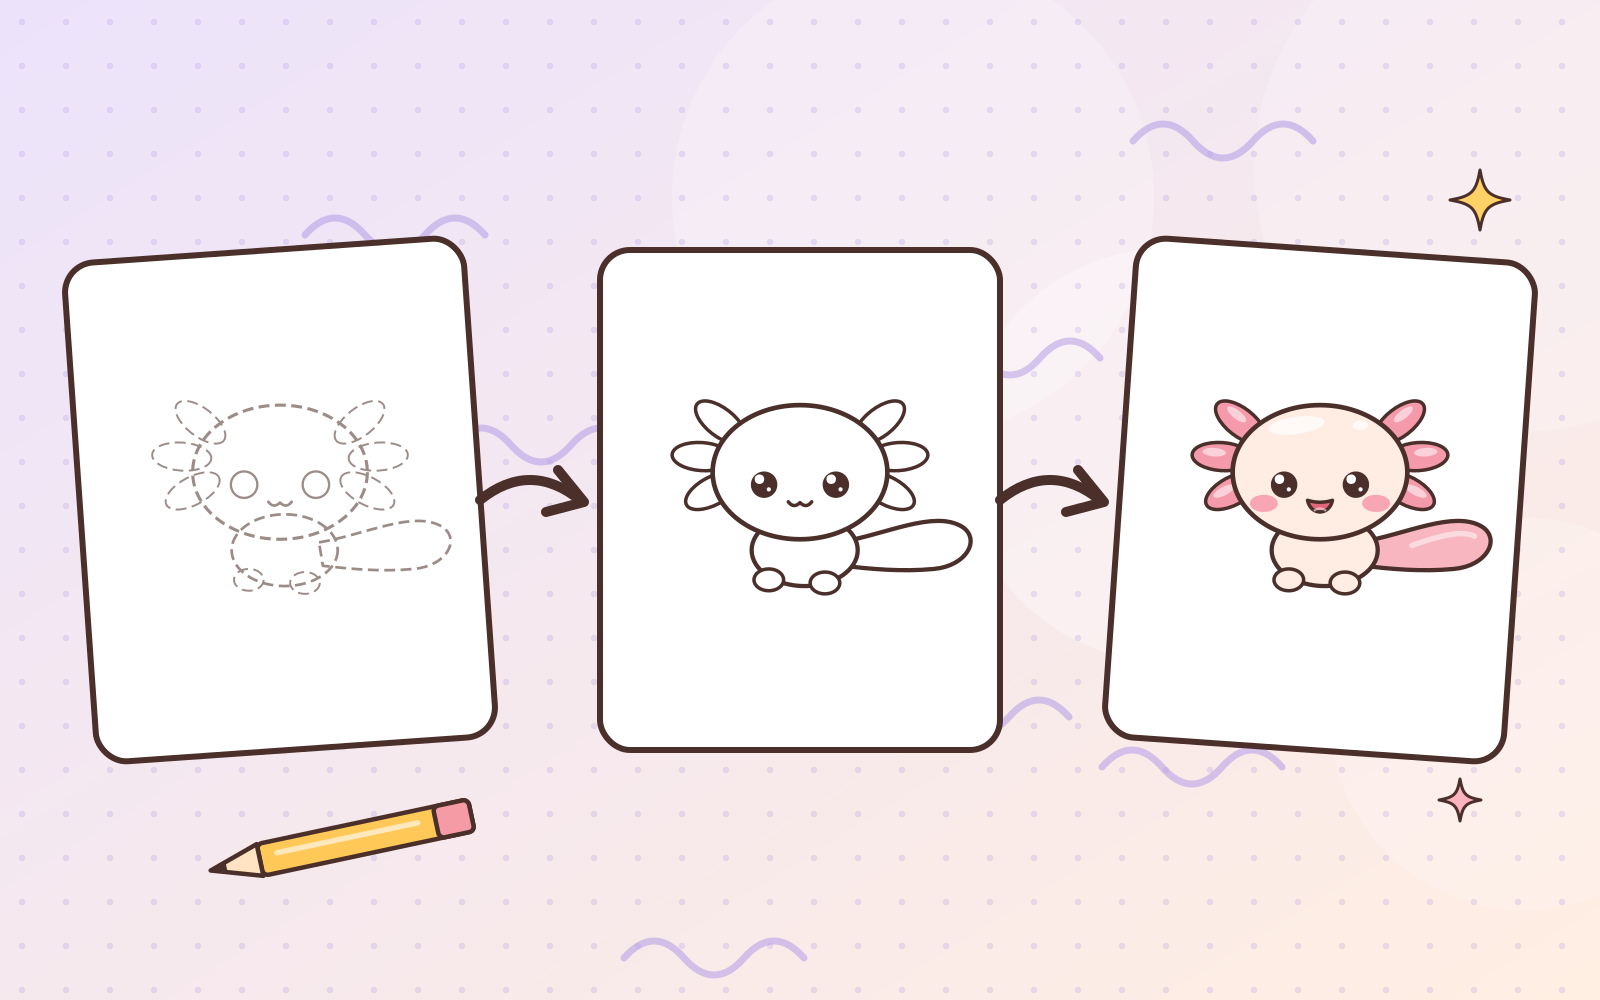
Every Pumi sticker you see at Pumimart starts as a simple doodle. Here’s the short version of its journey.
1. An idea and a rough sketch
It all begins with a question: “What if Pumi…?” What if Pumi fell asleep on a book? What if Pumi got startled by its own reflection? The idea gets scribbled quickly, sometimes in a dozen versions, until the most “Pumi” pose appears.
2. Clean lines
The best sketch is redrawn with clean lines. At this stage, proportions are checked so Pumi still looks like Pumi: a big round head, six petal gills, rosy cheeks, and a soft tail.
3. Color and light
Colors come from the official Pumiland palette so every sticker looks like part of one family. Then come soft shadows and tiny highlights that make Pumi look squishy.
4. Cut out with transparency
The background is removed cleanly right up to the outline, then saved as a high-resolution transparent PNG. Each sticker is checked on light and dark backgrounds so no stray pixels or rough edges remain.
5. Real-life testing
Before release, the sticker gets tried out: placed in a digital planner, shrunk to chat-sticker size, and checked to see if the expression is still clear. If the expression gets lost at small sizes, the drawing is fixed again.
From one idea to ready-to-use, a single pose can go through many revisions. But seeing that sticker in someone’s journal? Worth every one. 💕
 Have a suggestion or critique for Pumiland?